
When your Mac starts behaving abnormally, you need to understand that its time to clean up the system. You should always start with killing the processes first. These are the processes that keep running in the background always using a huge amount of power and RAM amount. There are several ways to view and kill the processes on your Mac. And we will discuss all the possible ways.
However, before going ahead, it is important to view all the running process first and how much amount of power they are consuming. And Activity monitor is the answer to that.
- First, launch the Activity monitor from the application
- Tap on the CPU tab that will show you which processes are consuming which amount of power. Alternatively, you can tap on the RAM tab that will show the amount of memory taken up by the processes. And you can then decide which all processes are required to be killed.
Methods to kill processes on Mac
Method 1: Using Activity monitor
This method will allow you to view and kill the processes easily in no time. This is a very simple step by step process.
You can launch activity monitor in two different ways. You can launch it by going to the Application folder and double-clicking on the icon. Another way is by pressing the Command and Spacebar together to call the Spotlight. And then type Activity monitor. When the option appears, tap on the return button to launch it.
Next, you will notice five tabs at the top of activity monitor which includes CPU, memory, energy, Disk and You can tap on any of them to see how much resources are used by the processes. For example, the CPU tab will show the amount of processing power used by the apps while the memory tab will list down the RAM amount used by the processes. So, identify the processes that are using most powers.
Once identified, click on that process and then tap on the ‘X’ sign. It will make the process to quit and free up the used resources. If it is an application, it will be closed. But if it is a critical application, it will get restarted.
Method 2: Using Terminal
If you want to kill processes on Mac terminal, the method is really very simple. Here also, you need to first identify the critical processes and then get rid of them. That’s it.
Similarly, you need to first launch the Terminal by pressing the Command and Spacebar together. It will bring the Spotlight. Type Terminal there and tap on the return button to launch Terminal. Another way to launch Terminal is by going to the Application folder and double-clicking on the icon.
The next step is to view the processes. When the terminal window will be opened, type ‘top’ in the terminal window which will bring a list of the currently running processes. You will also get an overview of the resources used by the running processes.
So, identify the process that is using the most Now, you need to kill process on mac terminal PID. Wondering what is this PID? You will notice a PID column next to each process name. Note down that number. This is the PID number. Now, in order to kill the process, you need to type ‘Kill-9’ followed by the PID number. Press enter and that process will quit.
Method 3: Force quit
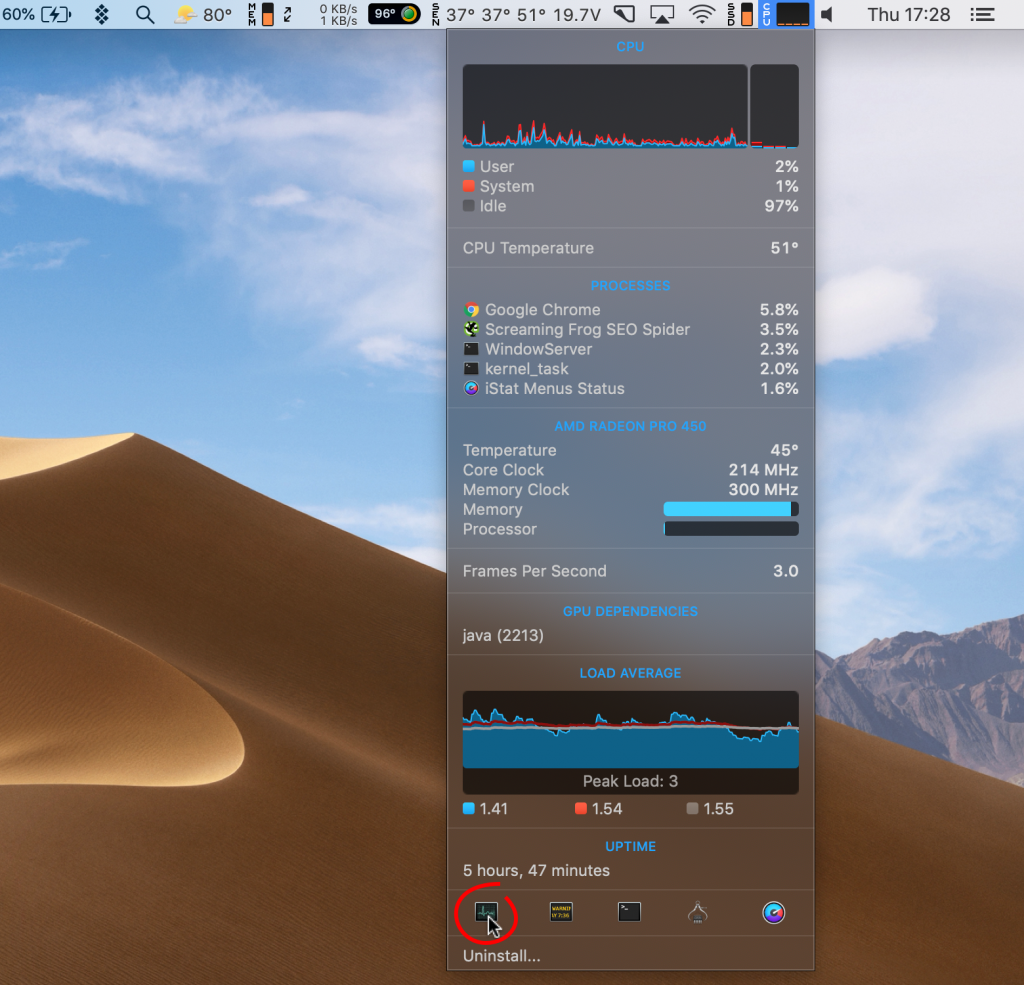
This is another best and the simplest way to close the application that is causing you issue. You can first identify the problematic process in the Activity monitor or by iStat Menus.
The next step requires you calling the Fore Quit application. You can launch it by pressing the Command, Alt and Esc altogether.
Now, click on the application that is creating issue and tap on Force quit. You have now successfully closed the problematic application.
Method 4: Killing the background process
Killing the background processes again requires you launching the Activity monitor. The process is same as method 1. But, the only drawback of killing the background processes is that, here you will notice some processes that are not clear to you. It’s always good to leave them as they are. If something goes wrong, it may affect the MacOS. So, just identify the problematic app that is using more RAM and CPU processing power and get rid of that using the ‘X’ sign in the Activity monitor tool.
Method 5: Using CleanMyMac
If you want some other app to do the task for you, you are always welcome. CleanMyMac is the answer to that. Here is a step by step process to use CleanMyMac.
- First identify all the problematic processes using iStat
- Next, launch Setapp and look for CleanMyMac.
- Now find out the Maintenance Scripts. At the left side, you will notice a Speed section. You need to click on Maintenance located under that section.
- You will see a list of tasks suggested by CleanMyMac to be performed by you to optimize the Mac. You can definitely run all of them. But the most important of all is the ‘Run Maintenance Scripts’.
- So, run the maintenance scripts and tick all the checkboxes located next to ‘Run Maintenance Scripts’. Click on run. Similarly, you can run all other maintenance scripts. Finally, when everything is done, click on the Select Task option to go back to the Maintenance task list.
So, these are the ways to kill processes on your Mac.


[…] Are you trying to figure out how to edit PDF text on Mac to fill up a form? While PDF is the most commonly used format for documents and is available on all platforms, it is quite a hassle to print out a form, fill it in and scan it to email it or upload it. The whole process is lengthy and requires you to have a printer and scanner readily available with you. Isn’t that too much for filling up a form? Thankfully, Mac users do not have to worry about all this because there is a built-in feature in your Mac computer, which allows you to fill in the PDF form. It does not involve the purchase of any new or expensive software, either. Here are the steps on how to make a PDF file editable on a Mac. […]