
Sony is known for its advanced and innovative. They use the most advanced and cutting-edge technology while designing their electronic devices. Sony Xperia XA Ultra is an exceptionally amazing Android smartphone released by Sony in the year 2016. It is specially designed for camera lovers as it features a powerful 21 Mega Pixel back camera which can be used to capture all your precious moments. You can even record high definition crystal clear videos using it. Now talking about its design Xperia XA Ultra is a very premium looking smartphone. It is equally powerful in terms of processing speed.
If you are a proud owner of this amazing Sony device here, you can configure your Sony Xperia XA Ultra.
First of all, before you switch on your device and proceed with the further steps, it is advisable to put it on charging for at least half an hour.
Steps to configure Sony Xperia XA Ultra
Putting the SIM and micro SD card
The first thing you need to do is to put a SIM card and a memory card.
- Eject the SIM tray using a SIM tray ejector.
- Now put in the SIM card and memory into their separate slots. Sony Xperia XA Ultra only supports nano-SIM cards.
- Press the tray back into the hole.
Starting your device
To start to your Xperia XA Ultra press and hold the power button until the phone vibrates.
Wait for the phone to boot up.
For safety reasons a basic swipe lock is already set which can be changed later.
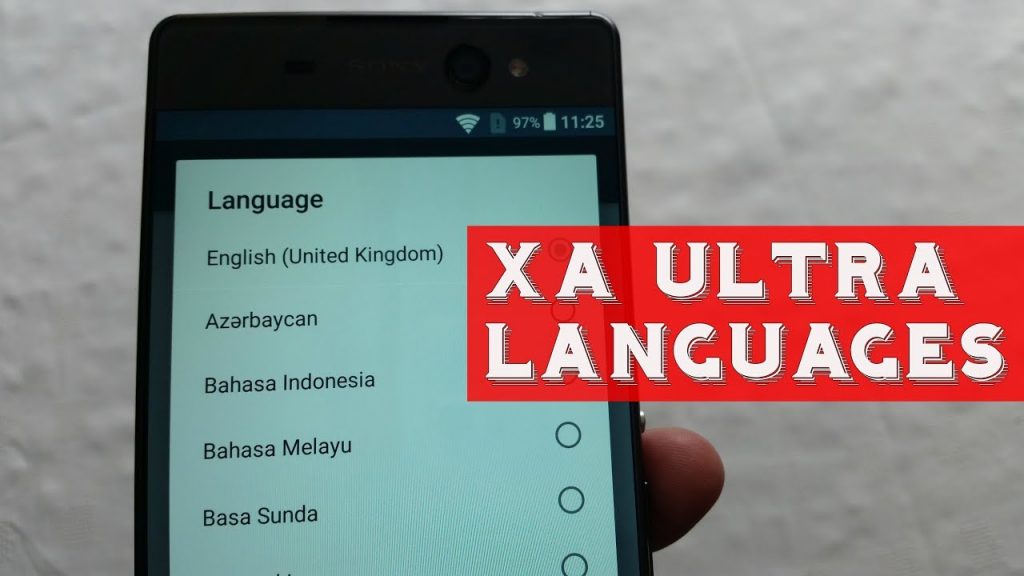
Selecting the language
After switching on your phone, you will be asked to choose a language. Just scroll down and choose your preferred language from the available list.
Connecting to WiFi
The next step is to connect your phone to a Wi-Fi network so that you can proceed with the further set-up. You will be automatically asked to connect to a network once you switch on your phone.
- Click on the particular Wi-Fi network now enter your password.
- Click on connect option to connect your phone to that network.
Setting up Google Account
Sony Xperia XA Ultra runs of Google’s most popular Android operating system. In order to use all of its features, you must first set up your Google account.
- The phone will automatically ask you to set up your Google account when you will switch it on for the first time.
- Just enter your email id and password of your Google account and hit proceed.
- Now click agree.
You have successfully added your Google Account.
You can even skip the account setup however a Google account is crucial for installing any application from the Play Store. The same account is even used for the backup process. It also allows you to remotely find your phone. Therefore, it is advisable that you don’t skip.
Setting up the screen lock
The next thing you need to do is set up a screen lock to prevent your device from unauthorised access. To set up a screen locks follow the listed steps.
- First of all open settings app.
- Now tap on lock screen and security.
- Tap screen lock.
- Select the type of lock you want.
- Now enter a pin, password or pattern based on your previous selection.
- Tap confirm and then ok.
You have successfully added a screen lock.
Now your new Sony Xperia XA Ultra is ready to use.


